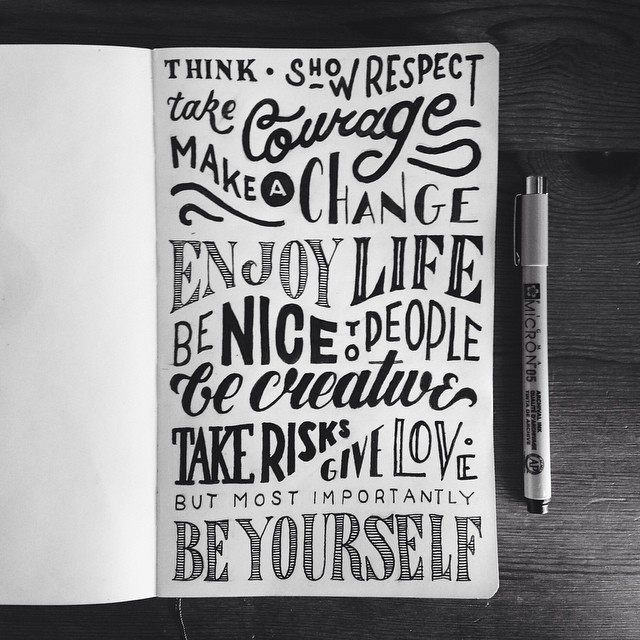
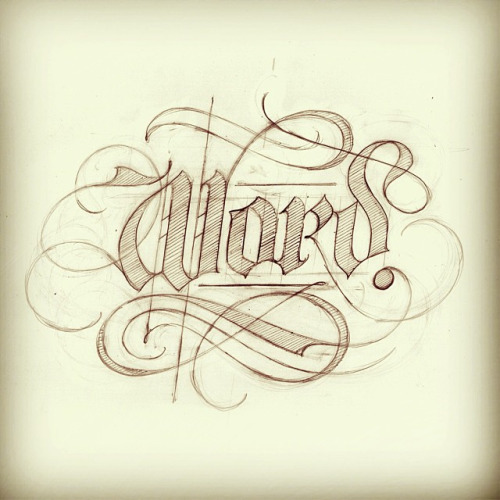
Graphic designers can create many amazing things with the help of various software, but what’s even more impressive is the fact that some of them are able to make stunning designs by their own hands. Hand lettering is a great example of this. And if you ever thought of mastering the art of hand lettering, we are here to help you.Â
Why You Should Learn Hand Lettering?
It is good to master new skills: this helps to improve as a designer and to boost your creativity. Moreover, it’s fun (though can be complicated too) and is good for promotion. You can start a blog, an Instagram or a Tumblr account to share your progress there, to attract followers and to promote yourself to potential customers.
Who knows, maybe your hand lettering skill will impress someone enough to offer you a job immediately or to look at your other design works? And even if not, you’ll still learn something new that can be later used in your designs. With the help of hand lettering one can create stunning logos, cards, signboards and even wall decorations (I bet you’ve seen a café or another place with walls decorated by amazing slogans, quotes, etc.).
What Tools You Will Need?
You’ll need only a few things to start learning hand lettering:
– paper;
– liners;
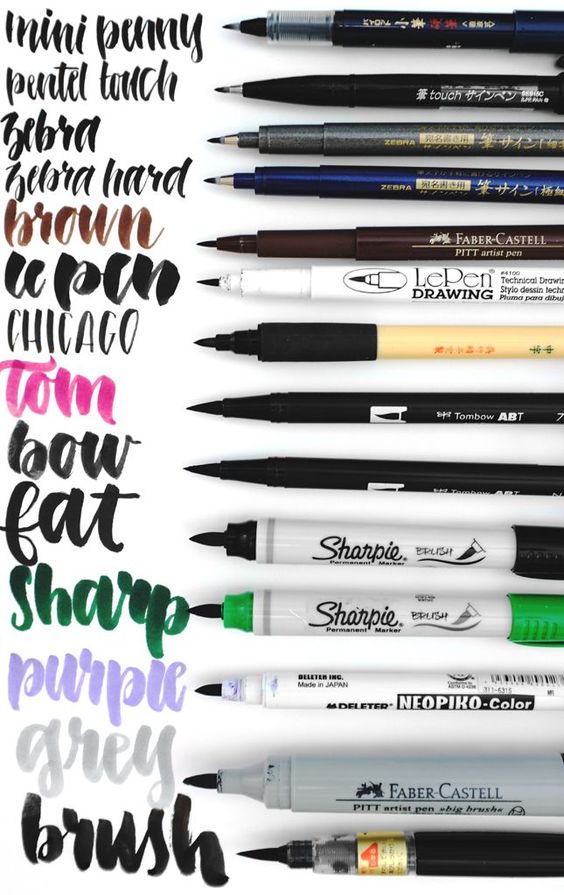
– brush pens;
– pencils;
– eraser;
– ruler.
Of course, it’s not the whole list: experienced (and eager-to-learn) artists use more art tools: brushes, flat pens, eraser shields, etc. But you’ll be able to Google and buy them later. If you are a beginner, it’s better to start with a few simple tools, as it would be easy to become confused otherwise.
You can choose any paper you want, cheap or expensive: in any case, you’ll use a lot of it during you practice. It is important for it to be bleed-resistant, though. A paper suitable for markers, pens and paint will do.
As for liners and brush pens: a lot of beginner and experienced letterers choose Microns as they are one of the most good and cheap ones. You can try them too: they are a great tool for those, who’re just starting to master hand lettering.
You will need a pencil (and probably an eraser) to create a sketch, but you don’t have to choose too expensive and professional ones to do so – a simple and cheap pencil will be enough. The same goes for ruler – you’ll need it for drawing additional lines only, so choose its length by yourself and don’t spend much time picking it: a simple one will do.
Now, when you have all the basic tools, you can start learning hand lettering!
How To Do Hand Lettering?
First, you have to choose a quote that you want to write. If it’s your first time, better choose a small and simple one. Then you have to draw a sketch of your quote: it is very important for beginners, as drawing a clean copy can be very hard. Even a smallest mistake can ruin the overall impression, while when you draw a pencil sketch you are able to fix any mistake with the help of eraser.
Creating a sketch is much easier when you draw additional lines (you’ll need a ruler for that). Try to keep even distance between letters and words – this is the most important part of the process.
After you finish blocking, you can move to the next stage of sketching. When you sketch letters, try to do it easily first – don’t press pencil too much and avoid thick black lines. You can add them later, after erasing all bad and unnecessary ones.
Have you finished your sketch already? Well, now it’s time to start drawing a clean copy. I recommend starting from edges: trace the contour of your phrase first and then fill in the letters.
A few tips to simplify the process: to avoid smudging the lines, put something between your hand and a paper (maybe, another piece of paper?). And be sure that the ink has dried completely before you start making any changes!
Of course, these are only the basic tips and steps of hand lettering. You have to watch different video tutorials, to learn more and to practice a lot if you want to create stunning hand lettering pieces. All I can do is wish you good luck on this complicated but interesting journey!

